
A quick note on casings. Most videos I watched showed a laborious and tedious process of gently stretching out natural casing, soaking it, rinsing it, soaking it in vinegar, rinsing it again, then laying it out for use. This seemed to me to the burden of sausage making. A quick stop at a local Meat House showed me that if you buy the cellulose casings you can skip all of the unpleasantness described above.
Homemade Bratwurst Recipe and Process
I found this German Bratwurst recipe at www.lets-make-sausage.com if you would like to see it in it's original form.
Bratwurst is made with emulsified meat. I couldn't go that far but found that by grinding the meat through the large then small grinder multiple times worked well. The consistency won't be exactly the same as the store but I think the taste is better! The grinding is probably the most time consuming part of the recipe. If the meat is cold/semi-frozen the grinding will be much easier! I learned that the hard way. If you hands are going numb handling the meat it is almost cold enough...
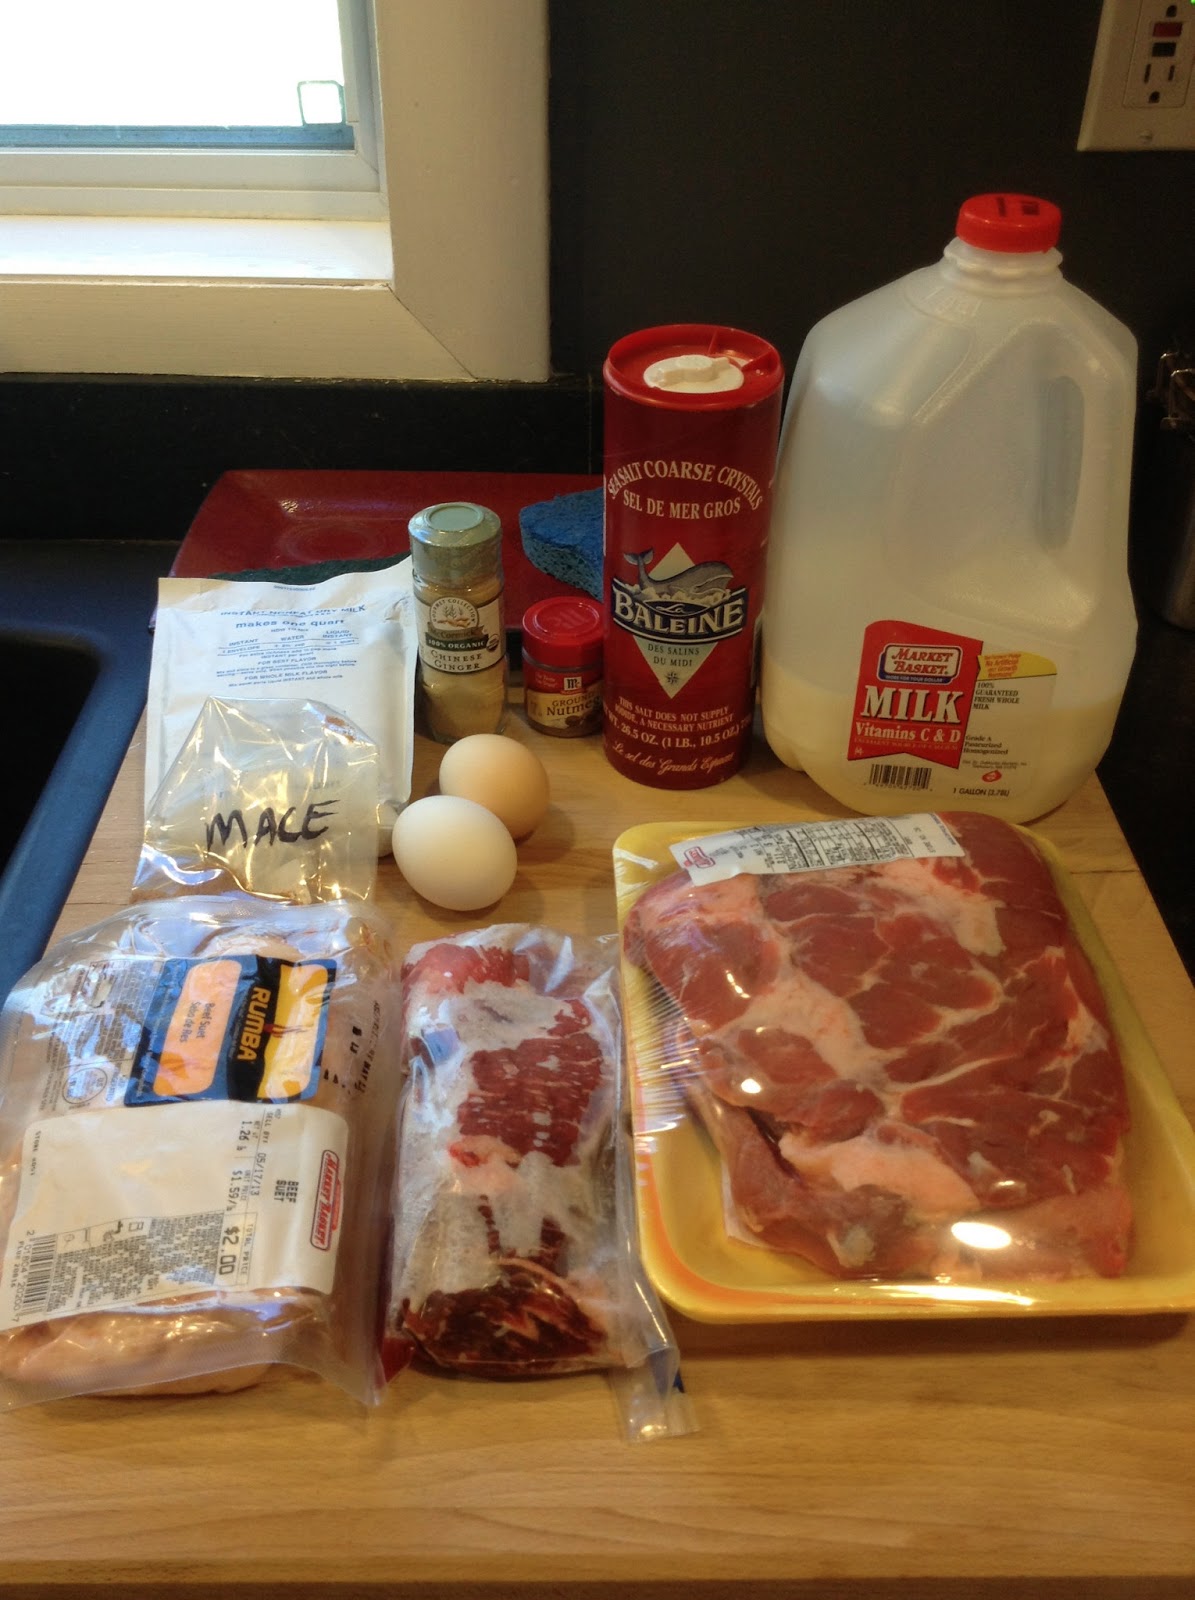
Ingredients:
- 4 lbs. Pork Shoulder or Pork Butt (80% lean is recommended as fat is an important ingredient. If you get a leaner pork you may want to supplement with pork fat- which is what I did.)
- 1 lb. Veal or Beef (Again if you get a lean cut you may want to supplement with added fat.)
- 1-2 Tbsp. Kosher Salt
- 1 Tbsp. Ground Nutmeg
- 2 tsp. Ground Mace (can substitute all spice, or cinnamon if you can't find mace)
- 1 tsp. Ground Ginger
- 1 Cup Cold Milk
- 2 whole eggs, beaten
- 1 Cup Non-Fat Dry Milk Powder (Used as a binder)
Directions:
Trim the pork and beef. Cut into 1 inch cubes. I start with semi-frozen meat for easier cutting. Place a metal bowl inside a larger bowl filled with ice and chill meat in fridge. I did this the morning of and left for a couple of hours but overnight is probably better.

After cutting place in freezer for a half an hour before grinding.

Grind meat through large grind plate, then twice through smaller grind plate or step down in size each grind if you have more than two grind plates.
  | |
| Grind Plates |


Mix the egg/milk mixture into meat with your hands and work for at least two minutes. It should be a soft paste. You may run it through the small grinder one additional time if preferred.

Load up the sausage stuffer and casings onto the KitchenAid and tie a knot at the end of the sausage. Leave a little slack in case if pops open when twisting links later. In the picture note I did not leave much slack, which is how I know you need to leave slack because it blew out...

Stuff into 32-35mm casing. I made one long sausage then twisted links after the fact. Note- this part of the process is much easier if you have two people; one in charge of feeding meat in and the second in charge of catching and managing the growing link. If you get an air bubble pop it by poking with a knife as the casing is filling.

Twist into links if preferred. Size is your call. Then refrigerate or freeze immediately.
I have read on many sites that the sausage should rest for a day before eating so it can plump. I don't know how vital it is but I saw it enough that I let them sit overnight before cooking.

Cook and ENJOY!
No comments:
Post a Comment